How to Make Caramelized Onions (for Sandwiches, Dips & More!)
With this recipe, learn how to make Caramelized Onions that can be used in a variety of culinary applications. You’ll get a batch of perfectly cooked, deeply golden onions that are packed with robust flavor. Enjoy the caramelized onions as-is or add rich depth and complexity to dips, pastas, sandwiches/focaccia, and more!
It’s crazy to think there was a time when you couldn’t get me to eat anything with onions, ha. Fast forward to today (and my taste buds being hella grown now), give me all the onions!!! Add on my burgers, slather my sandwiches in ’em, gimme them pickled, and everything in between. But caramelized onions thooo? Oh baby, they are one of my favorites, ooeeee.
Dreamy Caramelized Onions 🧅
Have you ever had them before? Caramelized onions happen when you cook raw onions until they’re extra tender and jammy. They take on their caramelized nature because of the slow cooking process. The onions are worked on with frequent stirring to both build flavor and develop the rich, deep caramelized color.
Listen, if anyone tells you caramelized onions can be made in under 20 minutes, they’re lying to you! A proper batch of caramelized onions, well, my recipe at least, takes anywhere from 45-50 minutes or longer. You’re left with incredibly flavorful onions that you can enjoy in so many ways!

5 Simple Ingredients Needed:
(Note: the full ingredients list, including measurements, is provided in the recipe card directly below.)
- Onions: I use yellow onions here.
- Butter: To sauté the onions.
- Oil: Also used in sautéing.
- Brown sugar: This helps to develop flavor and enhances the coloring.
- Salt: For balance in flavoring.
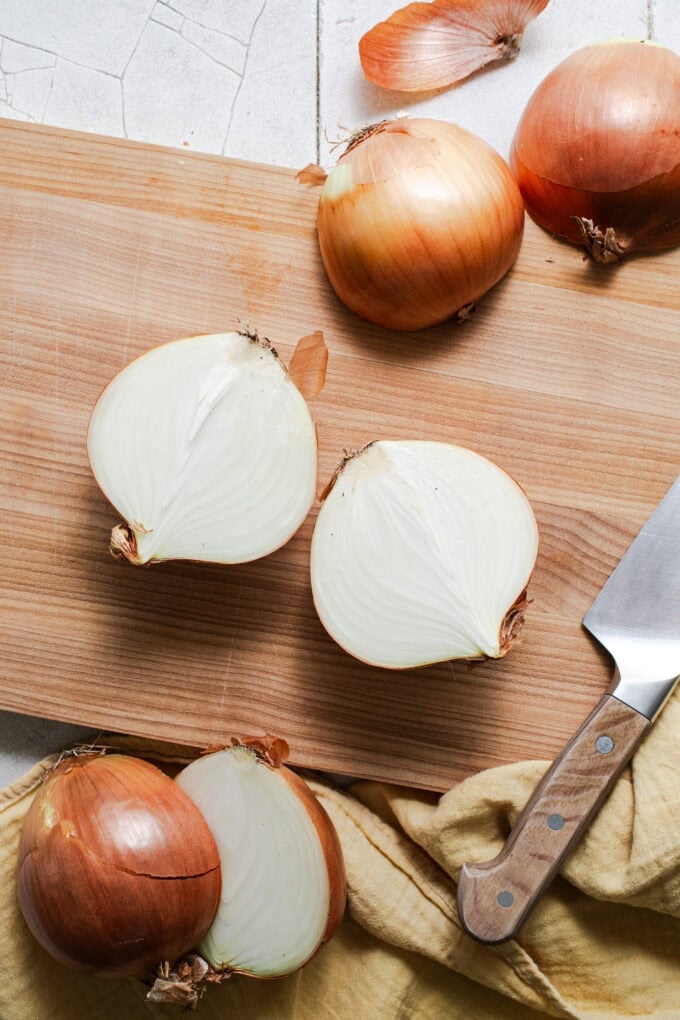
Prepping Your Onions:
Here’s how to get the onions ready for caramelizing…
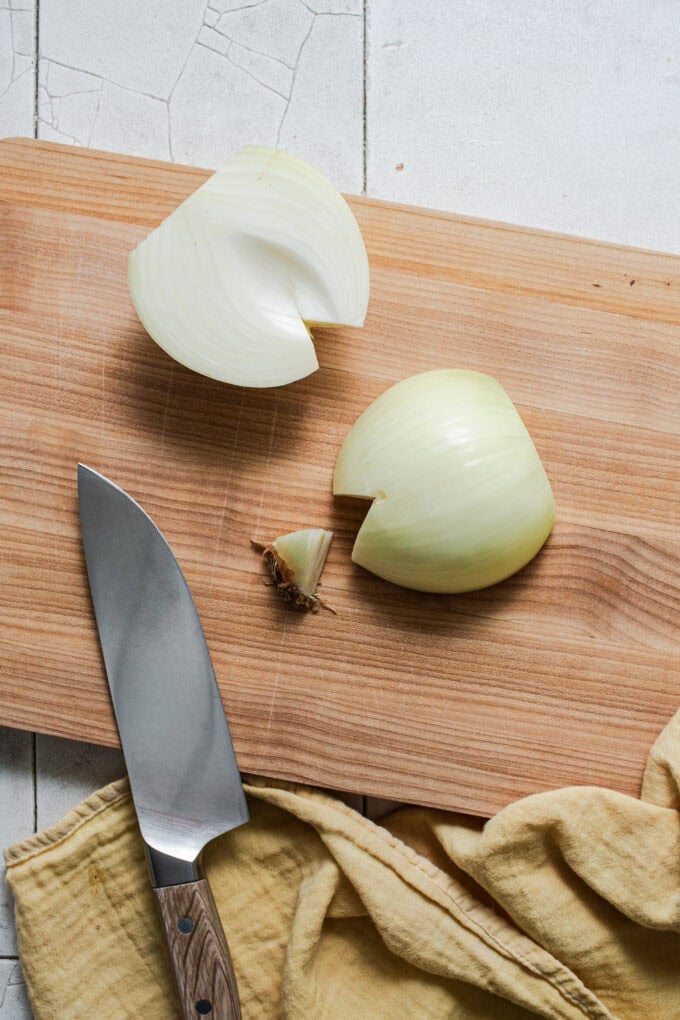
- Use a sharp knife to cut the onions in half from the root to the tip. Then use a paring knife or the tip of your knife to cut a V-shape around the root and remove it, and then cut a bit of the tip (end) off.
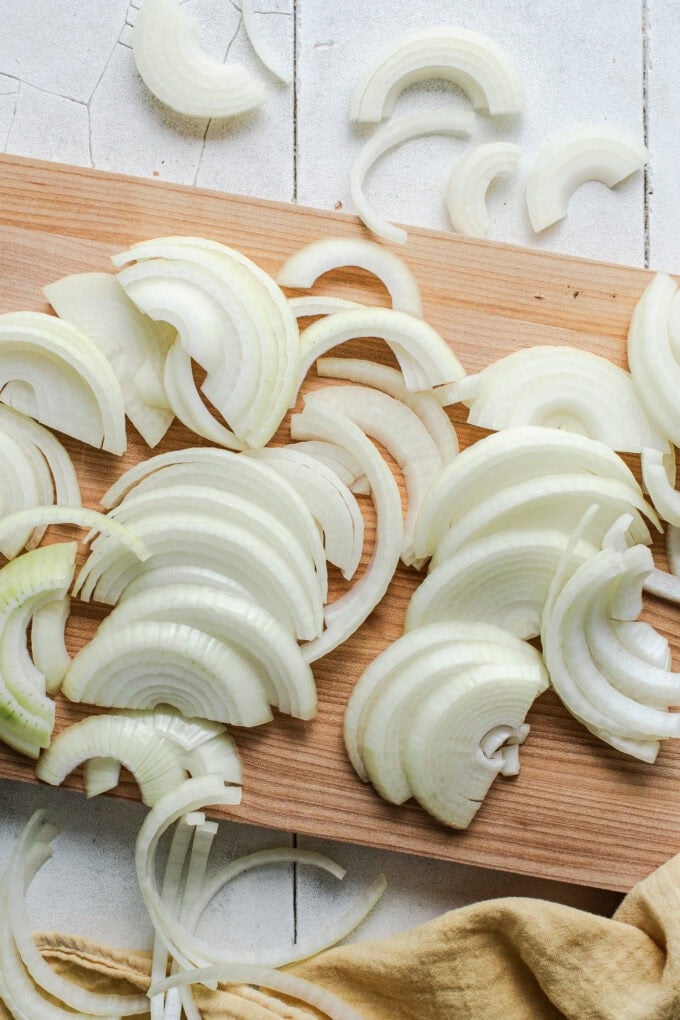
- Place an onion half on the cutting board and thinly slice the onion lengthwise into half moons, about ¼-inch thick or so. Use a bench scraper to gather the onions and place them into a large mixing bowl. Repeat the same slicing process until all the onion halves have been prepped.
How To Make Caramelized Onions:
(Note: please see the recipe card directly below for the complete written instructions.)
- In a large, wide, and deep pot over medium heat, add the butter and oil. When hot, gently swirl the pot to evenly coat the bottom.
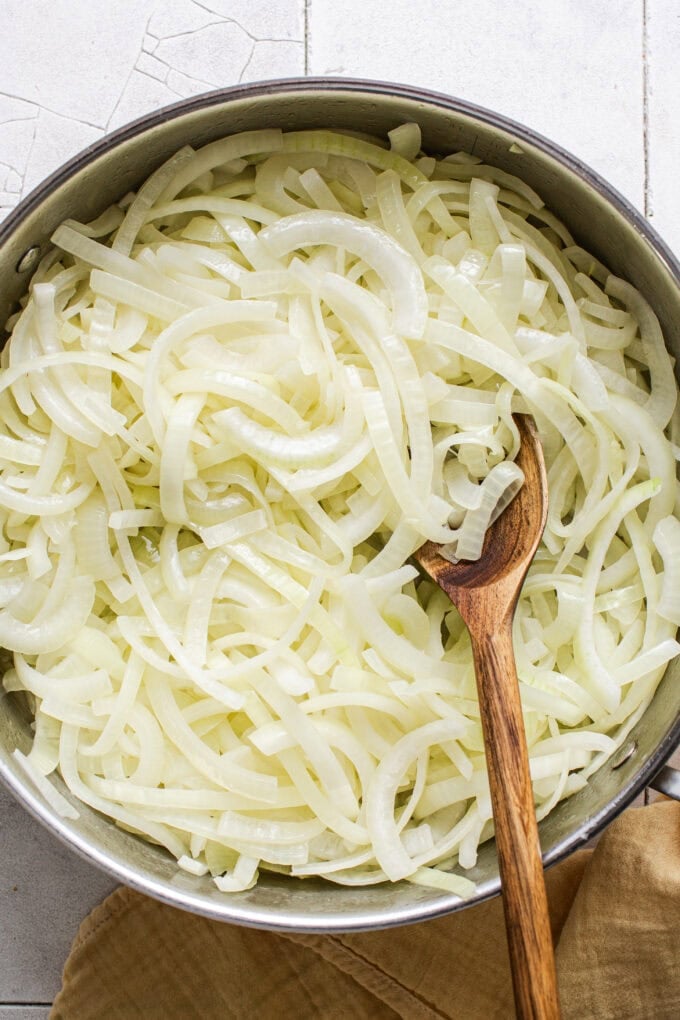
- Working in batches, add a handful of onions to the pot. Use a wooden utensil to cook, stirring often, until the onions are soft and translucent, about 2 minutes. Then add more onions and repeat the cooking process until you’ve added all of the onions to the pot.
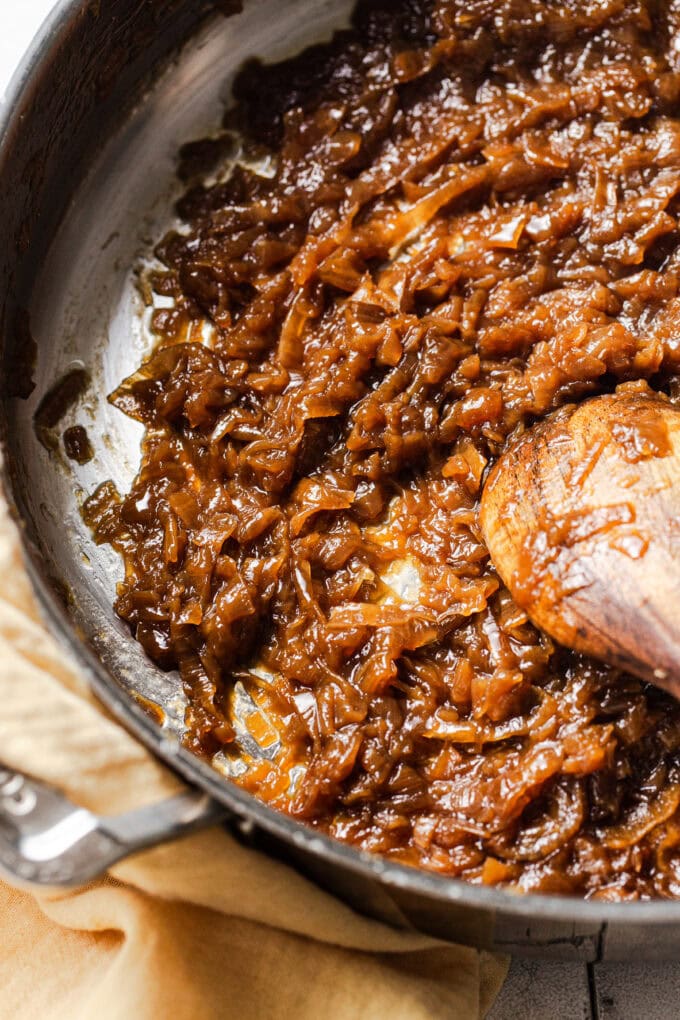
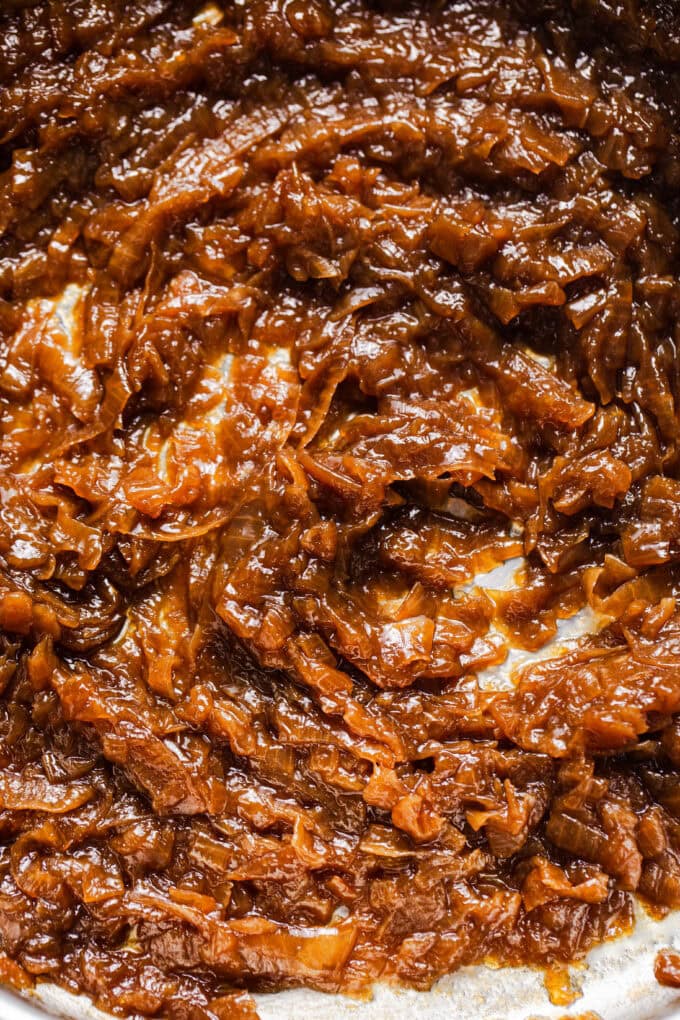
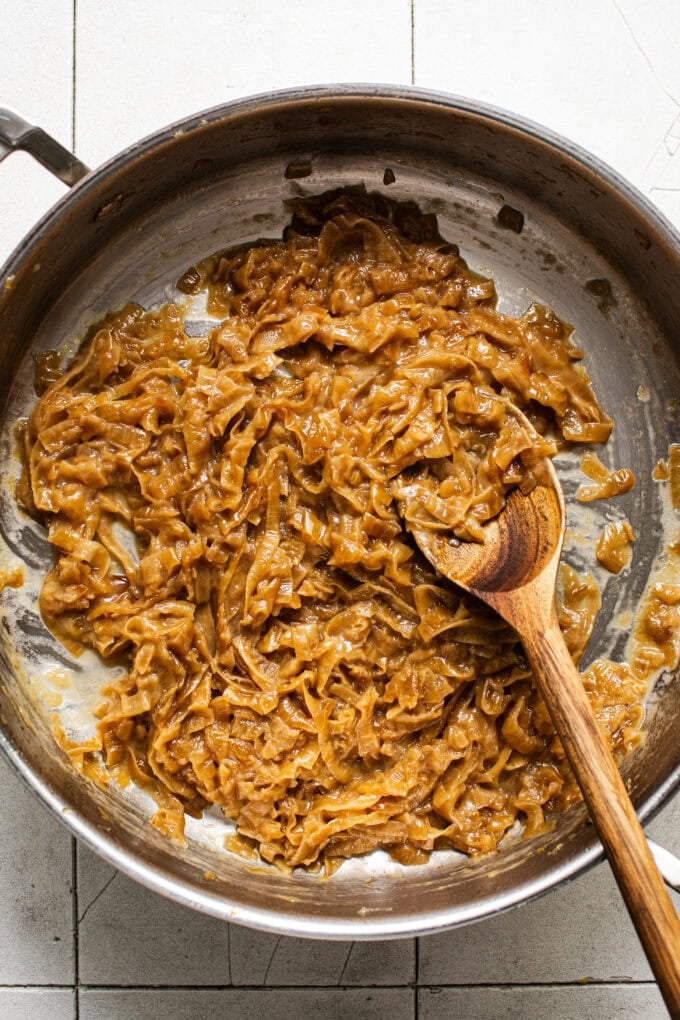
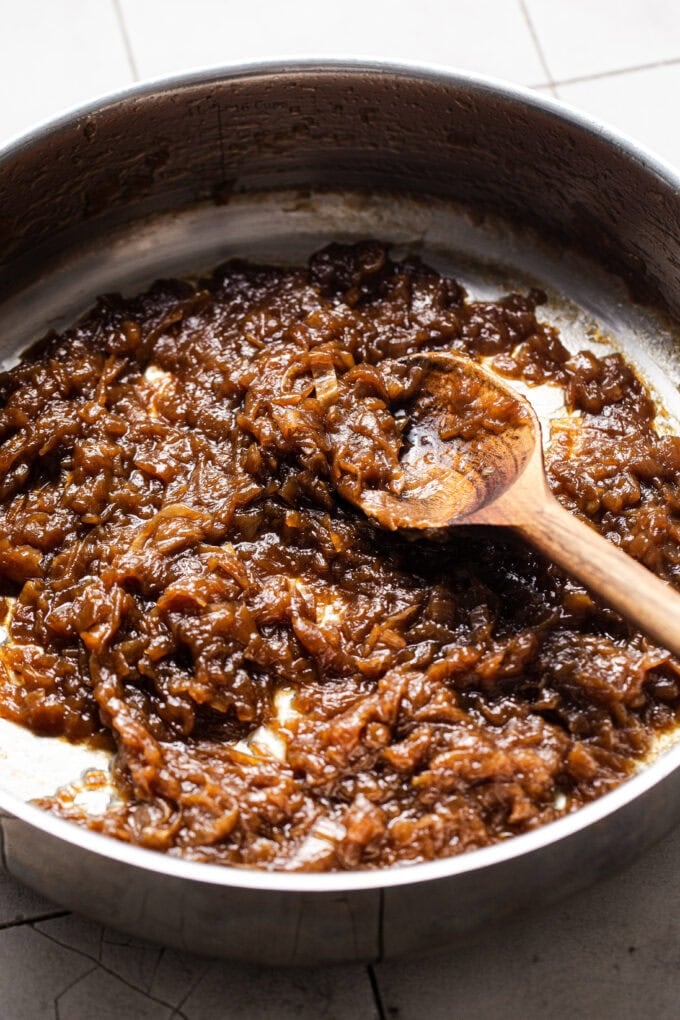
- Reduce the heat to medium-low and continue to cook the onions, stirring them every so often for even cooking and to prevent them from sticking. The process of rich + deeply caramelized onions can take anywhere from 45-50 minutes, sometimes a bit longer. The onions will start with a light blonde color and then take on a golden amber hue, and then transform into a deep dark color with crisp edges. During the cooking process (right around when the onions achieve their golden coloring, most of the water content will cook off). As such, it’s important to continue to keep an eye on the onions and stir every so often to prevent burning/scorching.
Slow Cooking 🤝 Flavor & Color Development
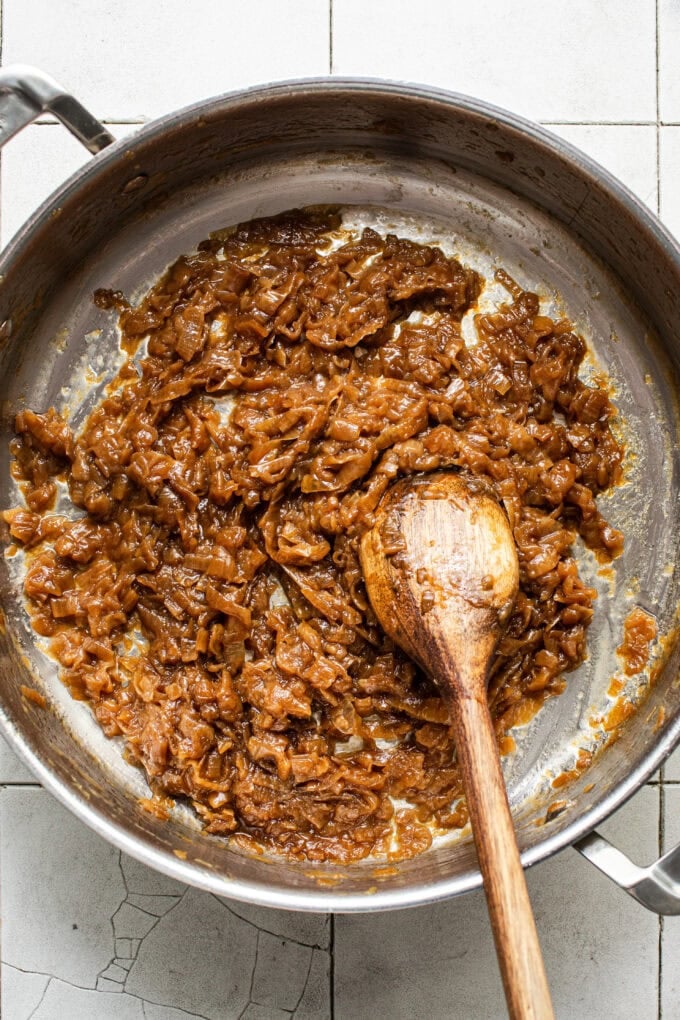
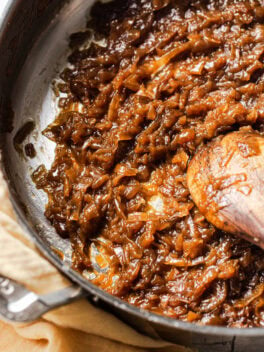
- Once the onions have reached that deep brown color, season the onions with the brown sugar and salt. Continue cooking, stirring the spices in until well combined, about 5-7 minutes. Then remove from the heat and let the caramelized onions rest in the pot until cool. The onions should be soft and jammy and deeply fragrant.
- Transfer the cooled caramelized onions into an airtight container and keep stored in the fridge. The onions will keep for up to 1 week.
How To Use Your Caramelized Onions:
Make caramelized onion dip 🙌🏾, French onion soup (after the onions are caramelized, simply add warm broth + more into the same pot), add to burgers/sandwiches, enjoy with eggs, top focaccia (mmm), and any other way you’d like to devour these golden gems…😋!
A batch of homemade Caramelized Onions is like pure gold, peeps. You can use ’em up in a wide variety of applications! Be sure to tag @butterbeready in your BBR recipe creations, I sure love to see it when you do. Until next time! 🤟🏾
More BBR favorites:
- Lemon Herb Butter Ravioli
- Steak au Poivre
- Gumbo Greens
- Coconut Curry Salmon
- Fried Sweet Plantains
- Sweet Potato Pound Cake
How to Make Caramelized Onions (for Sandwiches, Dips & More!)
- Prep Time: 15 minutes
- Cook Time: 1 hour
- Total Time: 1 hour 15 minutes
- Yield: about 1 ¾ cups
- Category: Side Dishes
- Method: Stovetop
- Cuisine: American
Description
With this recipe, learn how to make Caramelized Onions that can be used in a variety of culinary applications. You’ll get a batch of perfectly cooked, deeply golden onions that are packed with robust flavor. Enjoy the caramelized onions as-is or add rich depth and complexity to dips, pastas, sandwiches/focaccia, and more!
Ingredients
- 4 lbs medium or large yellow onions
- 6 tablespoons unsalted butter
- 2 tablespoons olive oil
- 2 tablespoons packed dark brown sugar
- 2 teaspoons kosher salt
Instructions
- Use a sharp knife to cut the onions in half from the root to the tip. Then use a paring knife or the tip of your knife to cut a V-shape around the root and remove it, and then cut a bit of the tip (end) off.
- Place an onion half on the cutting board and thinly slice the onion lengthwise into half moons, about ¼-inch thick or so. Use a bench scraper to gather the onions and place them into a large mixing bowl. Repeat the same slicing process until all the onion halves have been prepped. Note: There will be a lot of onions, but they will cook down significantly.
- In a large, wide, and deep pot over medium heat, add the butter and oil. When hot, gently swirl the pot to evenly coat the bottom.
- Working in batches so as not to overwhelm the pot at one time, add a handful of onions to the pot. Use a wooden utensil to cook, stirring often, until the onions are soft and translucent, about 2 minutes. Then add more onions and repeat the cooking process until you’ve added all of the onions to the pot.
- Reduce the heat to medium-low and continue to cook the onions, stirring them every so often for even cooking and to prevent them from sticking. The process of rich + deeply caramelized onions can take anywhere from 45-50 minutes, sometimes a bit longer. The onions will start with a light blonde color and then take on a golden amber hue, and then transform into a deep dark color with crisp edges. During the cooking process (right around when the onions achieve their golden coloring, most of the water content will cook off). As such, it’s important to continue to keep an eye on the onions and stir every so often to prevent burning/scorching.
- Once the onions have reached that deep brown color, season the onions with the brown sugar and salt. Continue cooking, stirring the spices in until well combined, about 5-7 minutes. Then remove from the heat and let the caramelized onions rest in the pot until cool. The onions should be soft and jammy and deeply fragrant.
- Transfer the cooled caramelized onions into an airtight container and keep stored in the fridge. The onions will keep for up to 1 week. To serve: make caramelized onion dip, French onion soup, add to burgers/sandwiches, eggs, top focaccia, and more. Enjoy!
Notes
- Please read blog post in its entirety for more tips + tricks.
Recipe by: Quin Liburd- Butter Be Ready
Photography by: Ashley McLaughlin

